Table of Contents
- Why Your CGM Sensor Peels Off (and What Actually Stops It)
- The Most Common Causes of Adhesive Failure
- How to Prep Skin for CGM Sensor: A Step-by-Step Routine
- The Best Protection for CGM: What to Look For
- CGM Sensor Armband Protection for Bathing, Sports and Swimming
- How to Stop CGM Sensor Peeling Off During Sweat and Movement
- Troubleshooting: Peeling Edges, Irritation, and Sensitive Skin
- Conclusion
- Frequently Asked Questions
Last Updated: September 11, 2026
Why Your CGM Sensor Peels Off (and What Actually Stops It)
CGM sensor peeling is not your fault. It is the predictable result of sweat, skin oils, and friction breaking down an adhesive never designed to survive a full wear cycle on an active body. This guide covers the fixes that hold up in practice.
The adhesive on a continuous glucose monitor has to bond to living, moving, sweating skin for days at a time, a genuinely hard engineering problem. That is why every box includes skin prep instructions most users skim past.
Sensors rarely fail because the adhesive is defective. They fail because the skin underneath was oily, damp, or covered in product when the sensor went on. Fix that and you solve most of the problem before it starts.
Below, we’ll show you how to stop CGM sensor peeling off, including the prep routine, patch options, and activity-specific fixes.
The Most Common Causes of Adhesive Failure
The leading causes of adhesive failure are moisture, skin oils, lotion residue, and mechanical friction. Adhesive needs a clean, dry, oil-free surface, and most daily routines work against that.
Think about your morning: you shower, moisturize, dress, and move, every step leaves something on your skin that weakens the bond. A common mistake is applying a sensor minutes after a shower, when warm, damp skin makes the adhesive grab moisture instead of skin.
Friction is the second culprit. A sensor on the upper arm rubs against sleeves, seatbelts, gym equipment, and backpack straps. Once an edge lifts, sweat and water get underneath and the rest follows.
What You’ll Need Before You Start
Gather these before you touch the sensor:
- Fragrance-free soap or an alcohol pad
- A clean, dry towel
- A barrier film wipe or skin prep wipe
- An overpatch or medical tape
- A sensor armband for high-movement days
- Adhesive remover for later removal
How to Prep Skin for CGM Sensor: A Step-by-Step Routine
Learning how to prep skin for CGM sensor placement is the highest-impact change you can make. A proper routine takes about five minutes and can extend wear time by days.
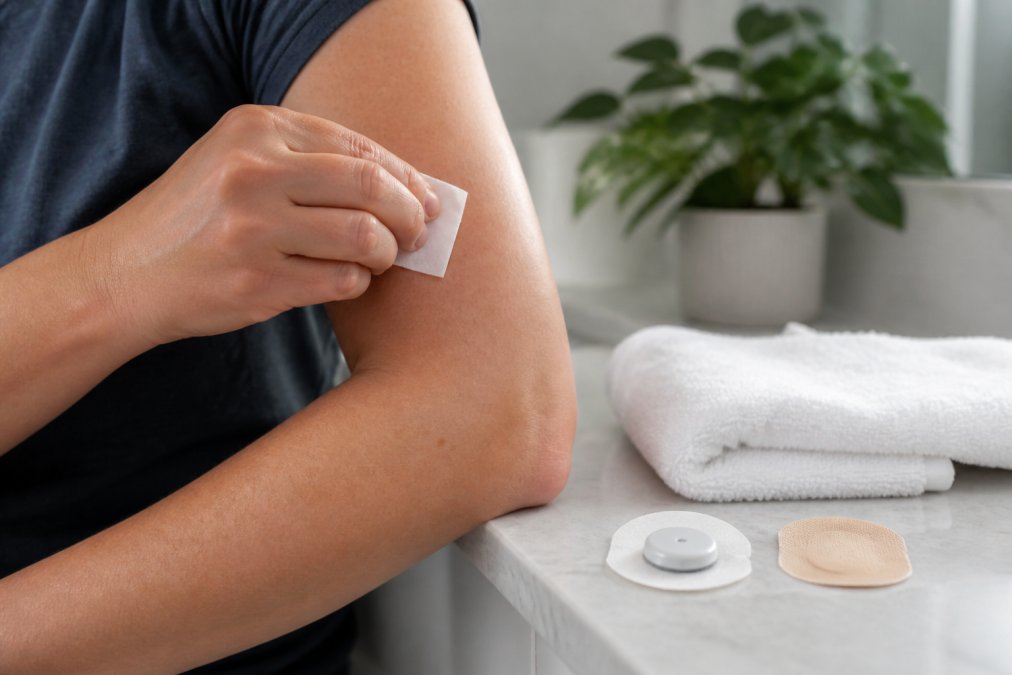
Follow this sequence every time you insert a new sensor:
- Wash the site with fragrance-free soap and warm water.
- Rinse thoroughly and pat dry with a clean towel.
- Wipe the site with an alcohol pad and let it air dry completely.
- Apply a barrier film wipe if you have sensitive skin, then let it dry.
- Insert the sensor and hold the applicator steady for the full count.
- Press around the sensor base for a few seconds to seat the adhesive.
- Apply an overpatch or armband over the top for reinforcement.
Clean, Dry, and Free of Oils
Clean, dry skin is the foundation of every successful application. Lotions, sunscreen, and body oils sit between the adhesive and your skin, and they win that fight every time.
FDA-cleared labeling on most CGM systems warns against applying sensors over lotions, oils, or broken skin (the FDA). Treat the prep steps as requirements, not suggestions.
Choosing the Right Insertion Site
The best insertion site is one your device’s instructions approve, with enough flat, hairless skin for the sensor base to sit flush, for most arm-worn sensors, the back of the upper arm, away from the deltoid and the crease where the arm bends.
Rotate sites between sensors. Repeated placement in the same spot builds adhesive residue and irritates the skin barrier, making the next sensor stick even less effectively.
The Best Protection for CGM: What to Look For
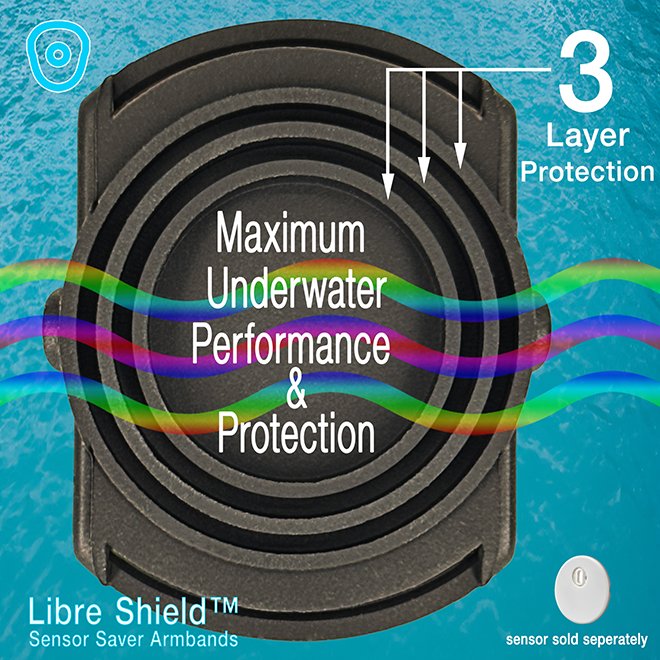
The best protection for CGM share three traits: hypoallergenic medical-grade materials, a size that fully covers the sensor base providing placement confident support, and simple application and removal.
Here is how the three main options compare:
|
Option |
Water Resistance |
Wear Time |
Best For |
|---|---|---|---|
|
Overpatch |
Moderate to high |
3-7 days |
Casual reinforcement |
|
Medical tape |
Low |
1-2 days |
Quick edge repair |
|
Barrier film |
None (under layer) |
Matches sensor |
Sensitive skin protection |
|
Sensor armband |
High |
Reusable |
Confident reinforcement Sports, swimming, physical work No Adhesive Rashes |
Overpatches vs. Medical Tape vs. Barrier Film
An overpatch is a pre-cut adhesive cover that sits over the sensor and its base. It is the most popular option because it is shaped correctly and usually rated for water exposure.
Medical tape is an emergency fix for a lifting edge, not a long-term solution. It does not breathe well and curls at the corners within a day.
Barrier film goes under the sensor, not over it, creating a thin protective layer between adhesive and skin. For anyone dealing with contact dermatitis, it is the layer that makes wearing a sensor tolerable.
CGM Sensor Armband Protection for Bathing, Sports and Swimming
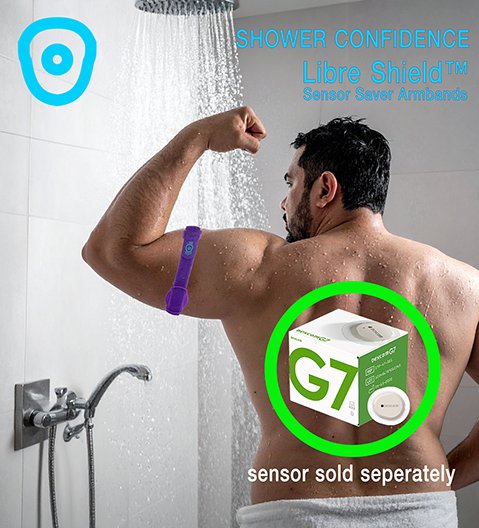
Buy the Libre Shield Sensor Saver G7 now on Amazon
CGM sensor armband protection is the most reliable answer for anyone whose sensor fails during movement, sweat, or water exposure. An armband holds the sensor flat and absorbs friction that would otherwise work the adhesive loose.
Libre Shield provides specialized sensor saver armbands designed to offer robust security and performance protection for continuous glucose monitoring sensors. Engineered for durability, our armbands ensure your device stays secure during all your daily lifestyle activities.
How to Stop CGM Sensor Peeling Off During Sweat and Movement
Stopping CGM sensor peeling off during sweat and movement comes down to controlling moisture before it reaches the adhesive. Sweat resistance is a property of the whole system, not just the patch, and the right protocol depends on your activity.
The Universal Rules
- Apply the sensor at least an hour before heavy activity, so the adhesive has time to fully cure.
- Use a moisture-wicking layer under your sleeve to pull sweat away from the site.
- Dry the area thoroughly after swimming or showering (always use a top rated waterproof armband), and pat rather than rub.
- Check the sensor edges after every workout and press down any lifting corner immediately.
- Switch to an armband for high-impact days like CrossFit, contact sports, or construction work.
Swimming and Water Exposure
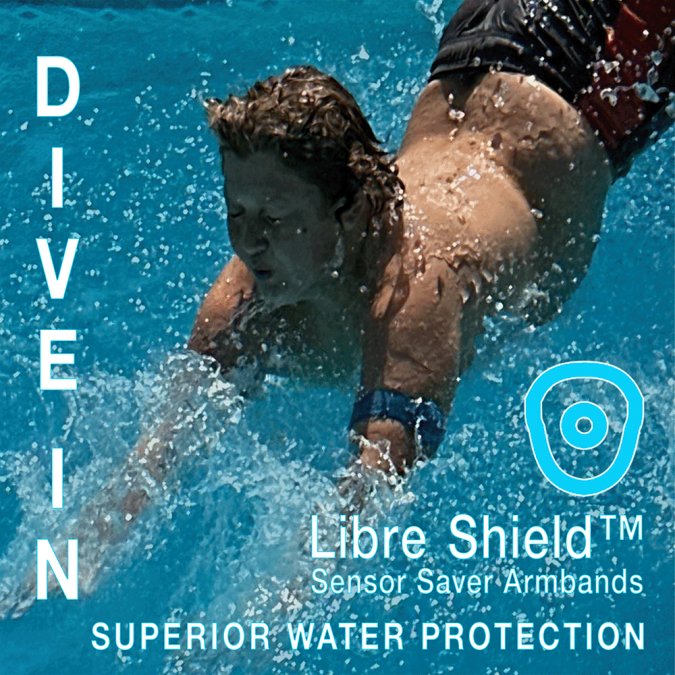
Buy the Libre Shield Sensor Saver 2 now on Amazon
Chlorinated pools and salt water attack adhesive differently. Chlorine degrades tack over repeated exposure; salt water leaves residue that lifts edges as it dries (peer-reviewed research). A water-rated overpatch does not provide the superior protection that an armband does. The Libre Shield Sensor Saver Armband is more reliable and the top rated cgm armband for anyone swimming laps multiple times a week.
After any water session: rinse with fresh water, pat dry, and press the edges down while skin is cool. Do not use a hair dryer or direct heat, heat softens the adhesive and makes edges lift faster.
Sauna, Hot Tubs, and Steam Rooms
Heat is the underrated enemy. Adhesive softens as skin temperature rises, and steam adds moisture on top. If you use a sauna or hot tub regularly, treat it as high-risk:
- Top Rated Method: Use a Libre Shield Sensor Saver Armband before and during the session, keep armband in place after session until arm and cgm site is cooled.
- Limit exposure to short sessions rather than long soaks.
- Cool down and dry the site completely before covering it again.
- Check the edges immediately after, heat-related lifts happen fast.
High-Intensity Sport and Physical Work
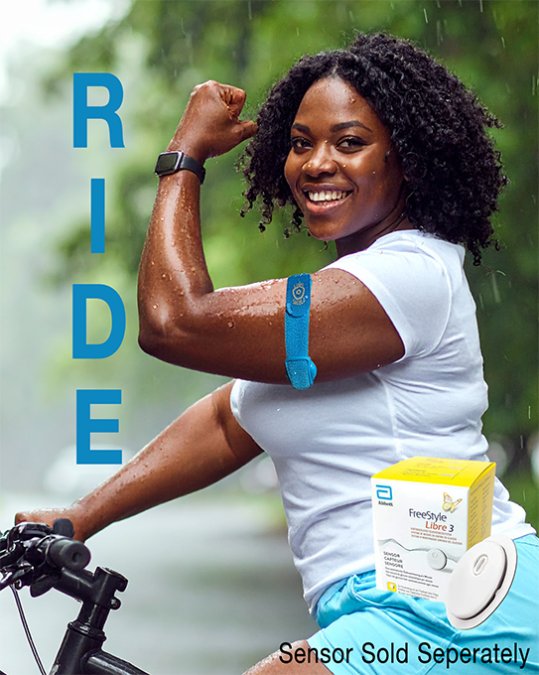
Buy the Libre Shield Sensor Saver 3 now on Amazon
For running, cycling, and gym work, friction is the main threat. Sleeves, straps, and equipment rub the sensor edge, and once a corner lifts, sweat finishes the job. An armband holds the sensor flat and absorbs that friction, outperforming adhesive alone on high-movement days.
For contact sports, the armband also reduces the chance of the sensor catching on a player or equipment. For physically demanding jobs, construction, landscaping, warehouse work, the same logic applies: the armband takes the mechanical load so the adhesive does not have to.
Kids at School and Play
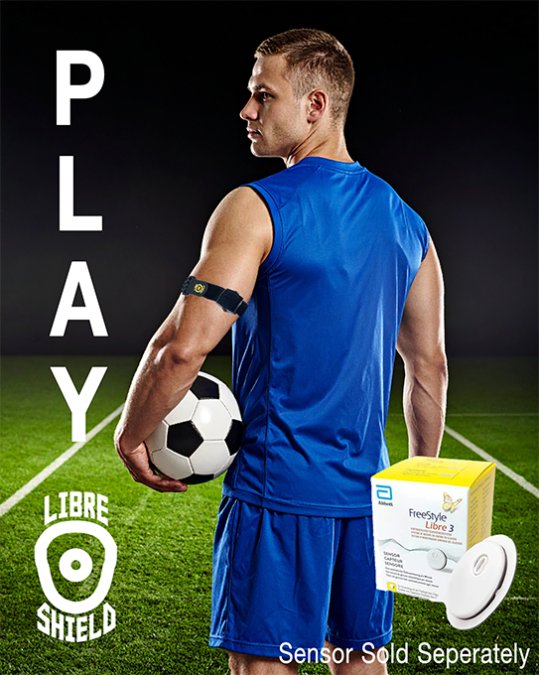
For a child at school, an armband reduces the chance of the sensor catching on clothing or playground equipment. Parents of kids aged four and older often find it is the difference between a sensor that lasts the full wear cycle and one that comes off by Wednesday. Pair it with a moisture-wicking undershirt on gym days and check the edges when they get home.
The edge is the enemy. Once a single corner lifts, sweat and water travel underneath and the whole patch releases within hours. Checking and resealing edges after every activity is the cheapest habit that protects sensor longevity, and matching your protection to your activity is what separates a sensor that lasts from one that does not.
Troubleshooting: Peeling Edges, Irritation, and Sensitive Skin
Peeling edges, itching, and redness each have a different fix, and treating them as one problem is why many users give up before the sensor expires. This section splits the problem by cause and skin type, because the fix for oily skin will make dry or sensitive skin worse.
Fixing a Lifting Edge Without Removing the Sensor
For a lifting edge, clean the surrounding skin, let it dry, and apply a fresh strip of overpatch or medical tape over the lifted section. Press from the center outward to push air out rather than trap it. Do not peel the sensor off to redo it unless the base itself has released, lifting the whole unit resets the adhesive cure and usually costs you the remaining wear days.
Keep a small repair kit in your bag with an alcohol pad, a pre-cut overpatch strip, and a barrier film wipe. Most edge lifts reseal in under two minutes if you catch them the same day.
Matching the Fix to Your Skin Type
Most guides give one set of instructions for every body, the biggest reason advice fails. Skin behaves differently depending on oil production and reactivity.
- Oily skin: Oil breaks the adhesive bond fastest. Wash with a fragrance-free foaming cleanser, follow with an alcohol pad, and skip moisturizer on the site for at least 24 hours before insertion. A barrier film wipe helps, but apply it thin, a heavy layer can itself become a release surface.
- Dry skin: Adhesive can grab too aggressively and strip the top layer of skin on removal. Use a barrier film wipe as a buffer, and always remove with an adhesive remover rather than pulling dry. Dry skin also flakes, so gently exfoliate the site a day before insertion, not the same day.
- Sensitive or reactive skin: This is where barrier film earns its place. It goes under the sensor and creates a thin protective layer between the adhesive and your skin. Patch-test any new overpatch or barrier product on a small area of your inner forearm for 24 hours before committing a full sensor cycle to it.
- Hairy skin: Hair reduces contact area and gives sweat a path underneath. Trim, do not shave, the site a day before insertion so the skin has time to settle.
Barrier Sprays vs. Allergic Reactions: Knowing Which You Have
Irritation under a CGM usually falls into one of two categories, and they need different responses.
Contact irritation is mechanical or moisture-driven: redness and itching confined to the shape of the adhesive, often worse at the edges, improving within a day or two of moving the site. The fix is rotation, better drying, and a barrier film layer.
Allergic contact dermatitis is an immune response to something in the adhesive, commonly a tackifier or acrylate. It spreads beyond the patch outline, can blister, and often worsens with each new sensor. Barrier film may reduce exposure but will not reliably prevent a true allergy. If you suspect this pattern, stop using the product on that site and talk to your healthcare provider; they can help identify the trigger and, in some cases, document it so your device coverage reflects the reaction.
A practical test: if redness fades within 48 hours of removal and does not return at a new site, it is likely irritation. If it returns in the same pattern at a new site, treat it as a possible allergy and get it looked at.
If you notice a spreading rash, blistering, swelling, or open skin, stop using the product on that site and contact your healthcare provider. Contact dermatitis under a CGM can look like mild irritation at first and worsen quickly with continued exposure.
Removing a Sensor Without Damaging Your Skin
Removal technique matters as much as application. Pulling a sensor straight off strips the epidermis and leaves residue that weakens the next sensor’s bond (the American Academy of Dermatology).
Use an adhesive remover wipe or medical-grade oil around the edges, wait a few seconds, then peel slowly and low, close to the skin. Work around the perimeter rather than pulling from one point. Clean afterward with fragrance-free soap and let the skin rest before the next insertion, a full cycle between sensors on the same spot gives the skin barrier time to recover.
If residue is stubborn, a second pass with adhesive remover is safer than scrubbing. Friction damages skin, not the remover.
Conclusion
Sensor detachment is frustrating, expensive, and almost always preventable. The fix is a five-minute prep routine, the right patch for your activity level, and a physical layer of protection when adhesive alone is not enough.
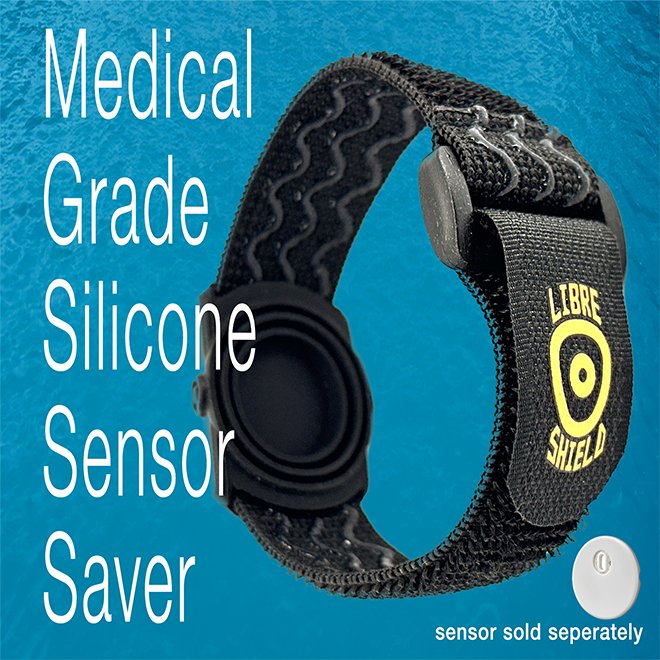
Libre Shield provides specialized sensor saver armbands designed to offer robust security and performance protection for continuous glucose monitoring sensors. Engineered for durability, our armbands ensure your device stays secure during all your daily lifestyle activities. If you are tired of replacing sensors early, explore the Libre Shield armband lineup.
Frequently Asked Questions
How to keep a CGM sensor from falling off?
Start with clean, dry skin: wash with fragrance-free soap, rinse, and let it dry completely. Wipe the site with an alcohol pad and let it air dry. Apply a barrier film if you have sensitive skin, then insert the sensor. Cover the sensor base with a medical-grade overpatch or wear a CGM sensor armband for added security. Rotate sites between wears and avoid lotions or oils near the sensor. These steps reduce adhesive failure and help the sensor last the full wear time.
Can you put a bandaid or medical adhesive over a CGM sensor?
You can place a medical adhesive patch or overpatch over the sensor, but a standard bandaid may not provide enough hold and can irritate skin. Use a hypoallergenic, latex-free overpatch designed for CGM use. Avoid covering the sensor’s transmitter or vent areas. If you use medical tape, choose a paper or cloth tape and apply it to the skin around the sensor base, not directly over the sensor itself. For active wear, an armband offers more reliable protection.
Why is my CGM sensor peeling off prematurely?
Common causes include oily or moist skin, lotions and sunscreen, excessive sweating, friction from clothing, and improper insertion technique. Skin prep is critical: clean with fragrance-free soap, dry thoroughly, and use an alcohol pad. If you swim or do high-intensity workouts, sweat and water can weaken the adhesive. Using a barrier film or overpatch and rotating insertion sites can help. In hot weather or during sports, an armband adds mechanical protection that keeps the sensor base from lifting.
How does skin preparation affect CGM sensor adhesion?
Skin preparation directly affects how well the adhesive bonds. Oils, lotions, and dead skin cells create a barrier that prevents the adhesive from sticking. Wash with a mild, fragrance-free soap, rinse, and dry completely. An alcohol pad removes residual oils and germs; let it dry fully before inserting the sensor. For sensitive skin, a barrier film spray or wipe can protect the skin without blocking adhesion. Proper prep can extend wear time and reduce peeling, especially for active users.